Petzval for Nuke – Swirly Bokeh using Blink Script

April 29, 2014

I remember seeing this video from Jason Bognacki for the first time and immediately thinking “Wow… I must replicate that effect in Nuke”.

I contacted Jason and bought one of his modded lenses for me to study and play around with.

PETZVAL-MOD™- 58MM F2.0 (W/ MODIFIED ELEMENTS) from Jason Bognacki on Vimeo.

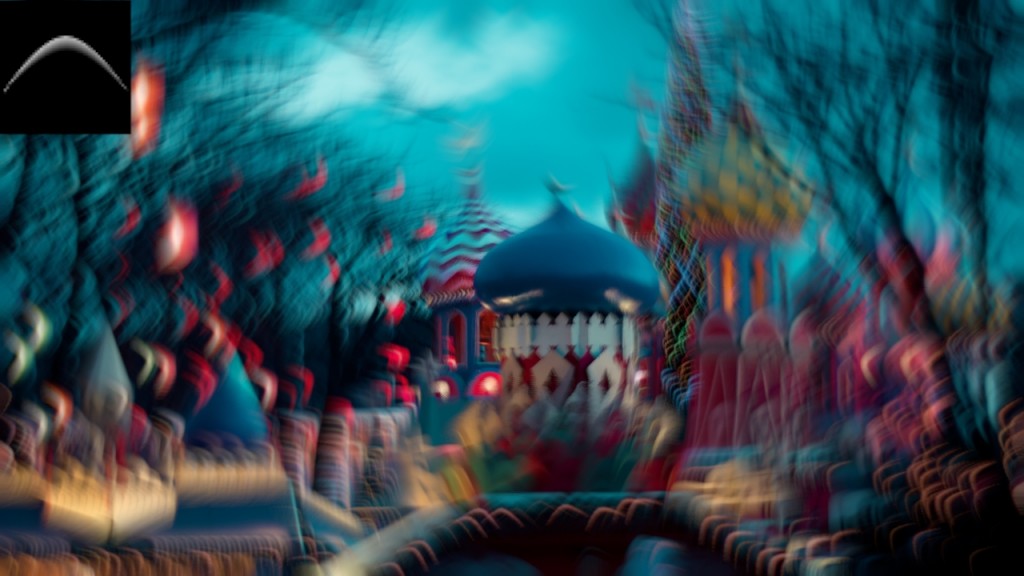
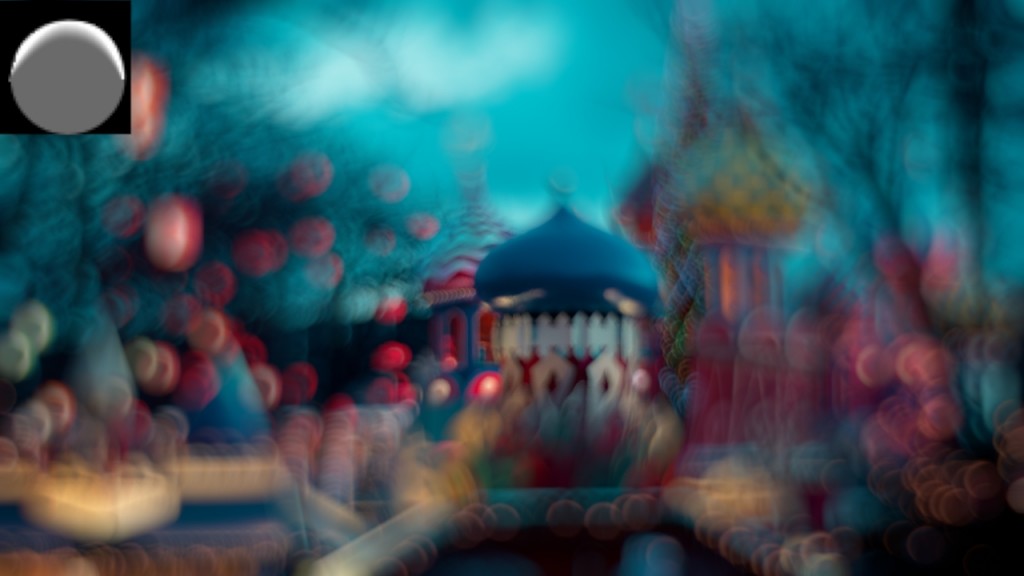
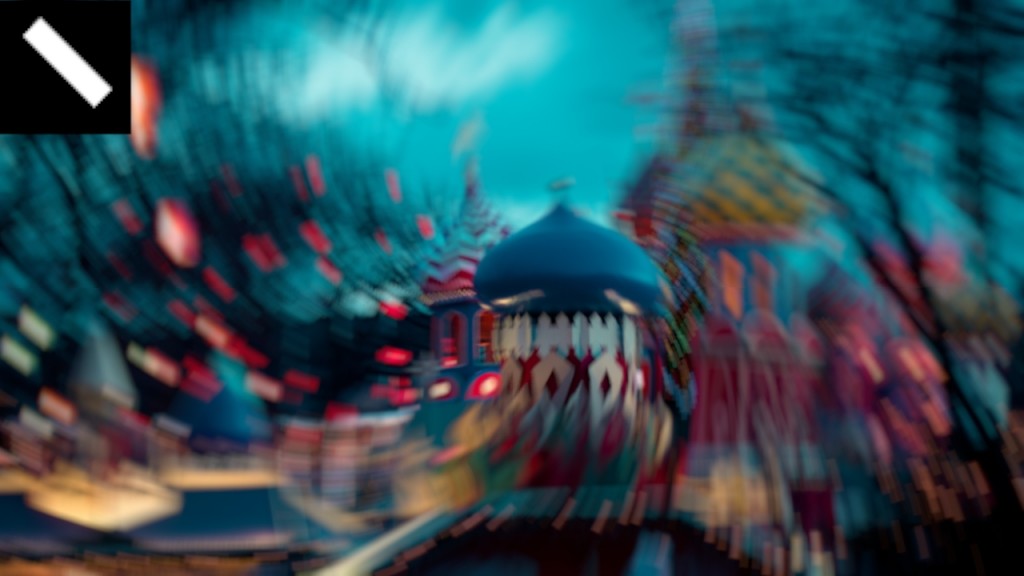
Not only is it an artistically interesting effect, it also raises a problem with Defocus, Z-defocus, Convolve and pgBokeh nodes alike. They all mimic the perfect optical element alignment in a lens. And most lenses have alot of “swirl” and distortion in their bokeh. If you look at this image you can clearly see how the bokeh circles at the edges of the frame are “facing away” from the center of the image (also referred to as “onion bokeh”), and this effect is occurring quite often.


So i decided to make a new Z-Defocus node for Nuke that generates swirly bokeh, and thanks to the new Blink Script node and the convolve examples provided by The Foundry this was a rather easy task to accomplish.

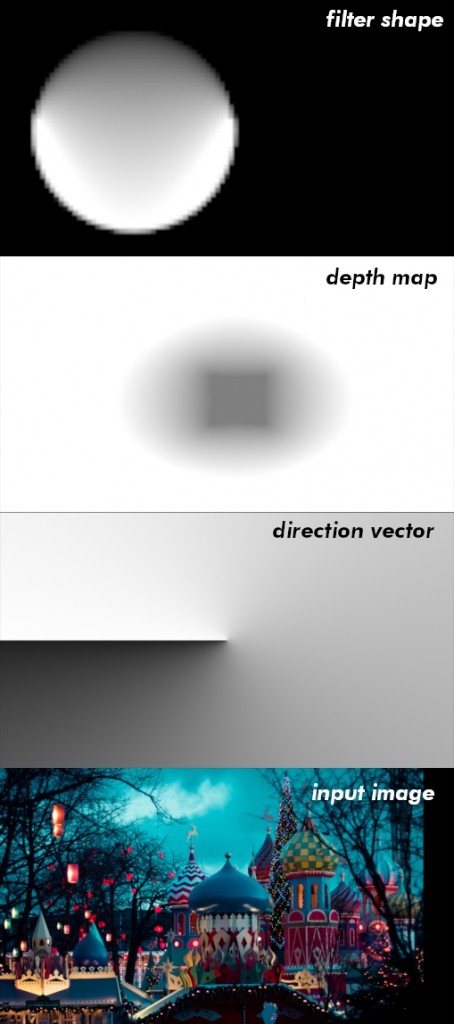
The node itself takes 4 inputs.

  • Filter Input – Changes the look of the bokeh
  • Depth Map – Depth map, but can also be used for masking.
  • Direction Vector – This map defines the direction that the bokeh should face, I have included anoter blink node that creates the default 360 map but you can make it face any direction you want.
  • Input Image – The image to apply the effect to.


Petzval_07

(Image from Tivoli – Copenhagen)

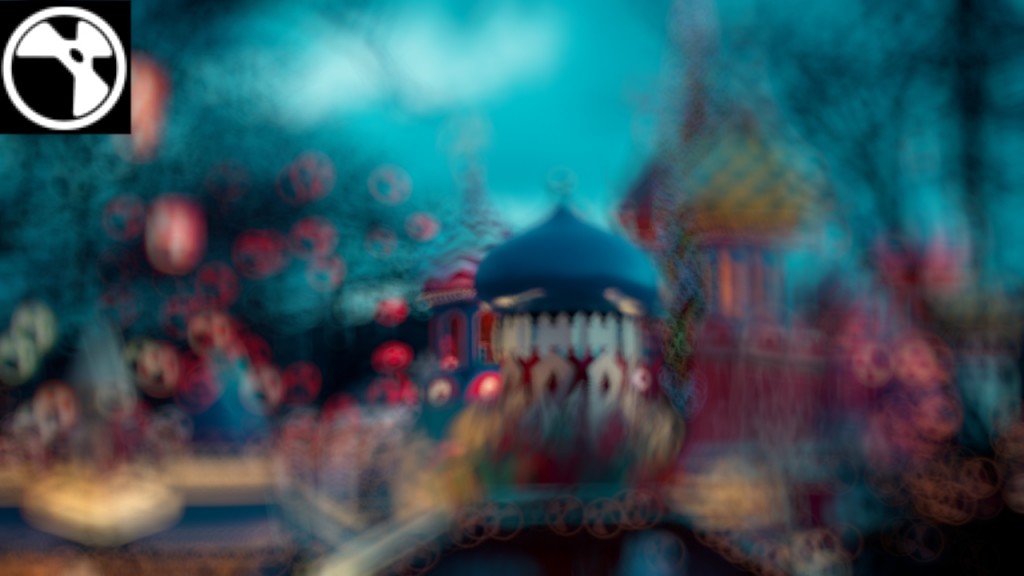
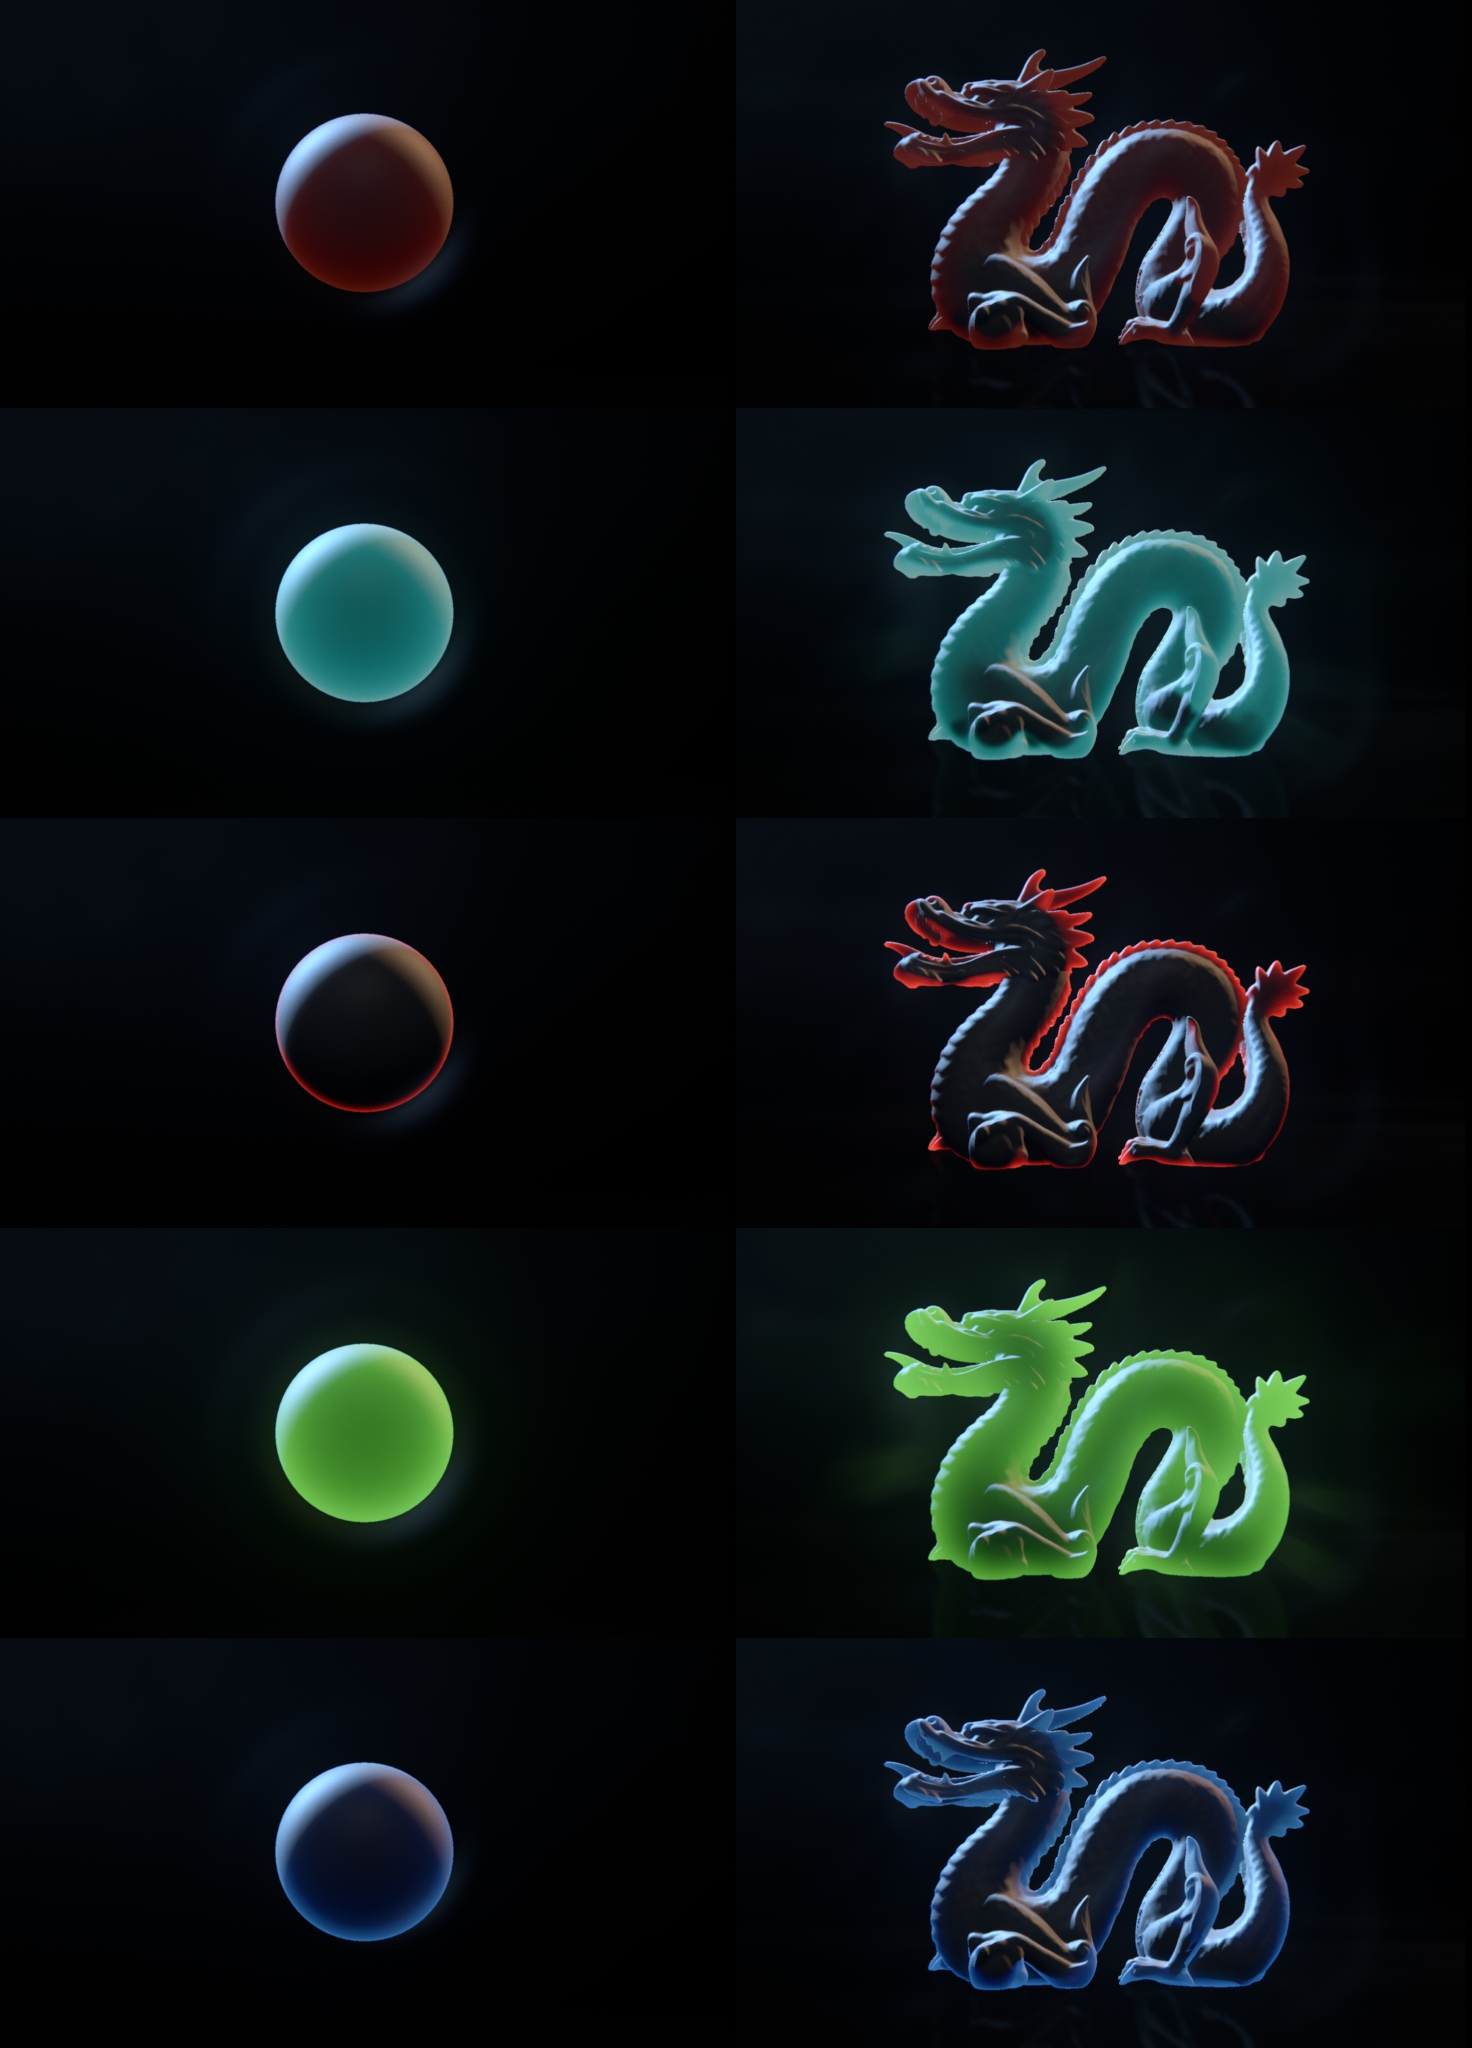
Here are a few results:

Petzval_01

Petzval_02

Petzval_03

Petzval_04

Petzval_05


There are still a few adjusments to do, but sofar im pretty sattesfied with the result.


Trying out Nuke Blink Script

April 29, 2014

One of the most exiting new features, actually.. the most exiting feature in Nuke 8 was the addition of the Blink Script node.

At the point of the announcement i was acturally working on a shder manager for nuke, mainly using the basic expression node. The expression node is nice but you need a ton of them and from time to time nuke doesn’t update the data stream causing the output image to be invalid.
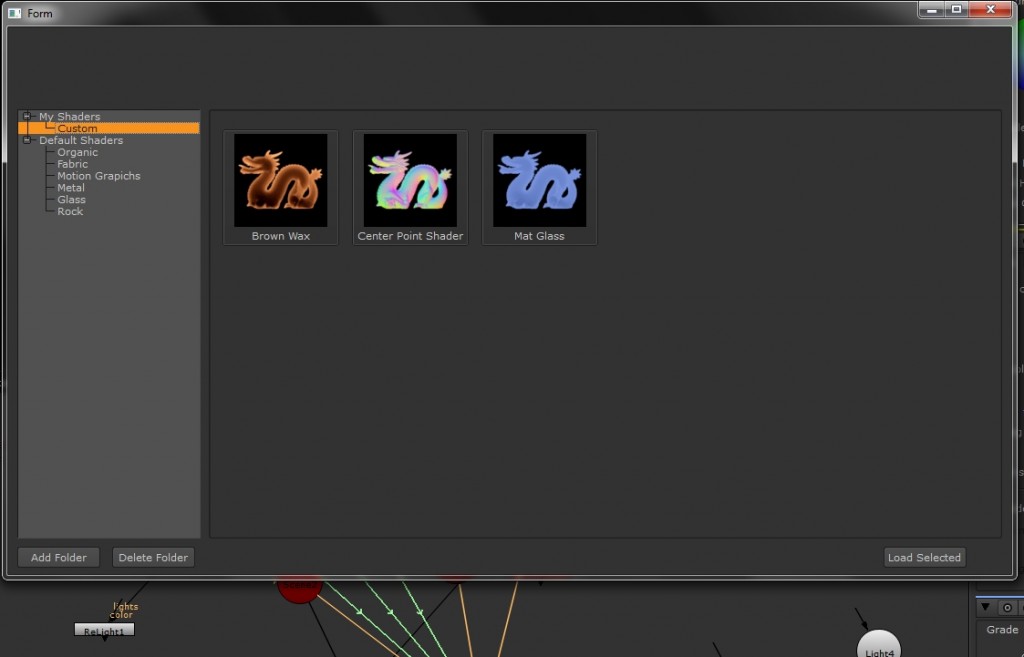
ShadersBreakdown2 (The nuke shader manger i was working on)

The blink node means that i can gather all my shader code inside a single node.
However as the blink node cannot reference anything outside the input rgb channels i still have to create 1 blink node for each light.

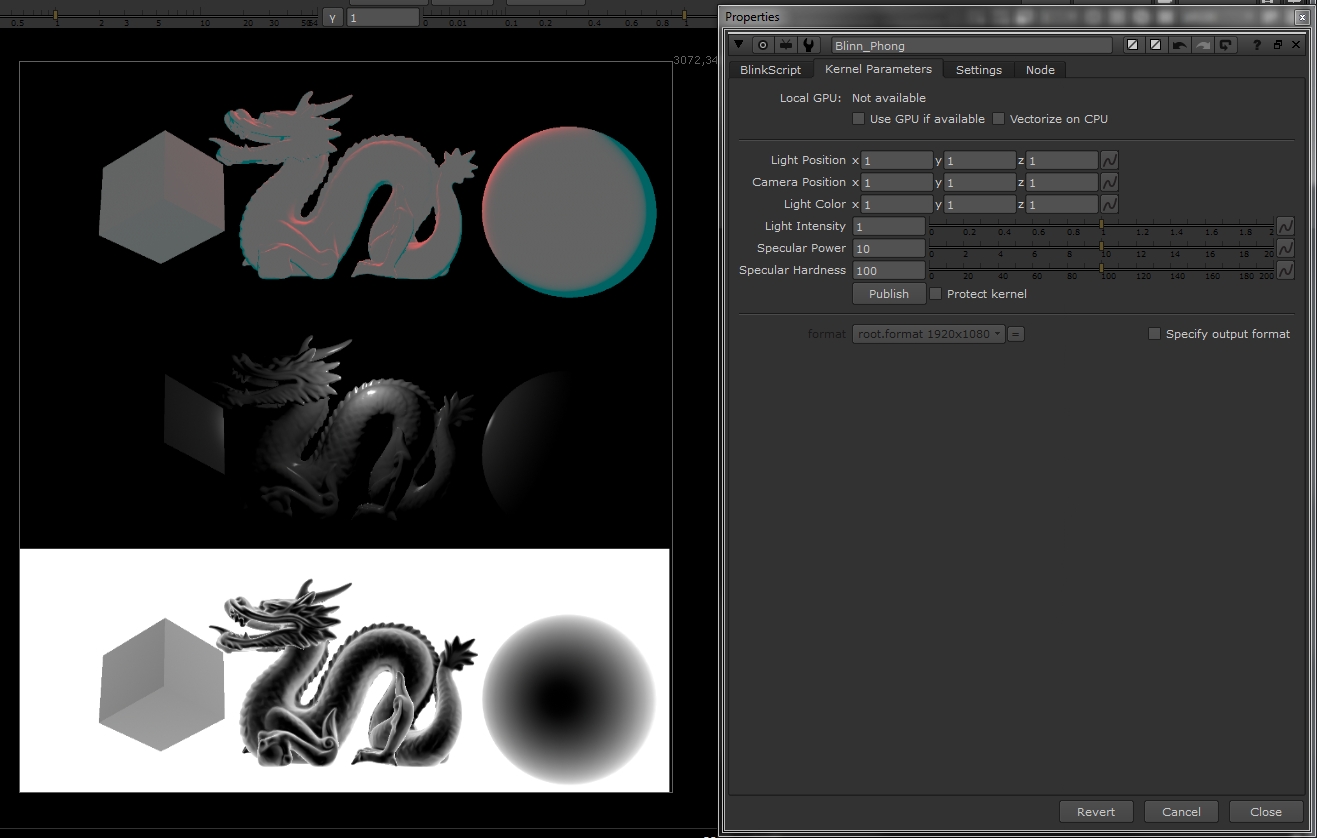
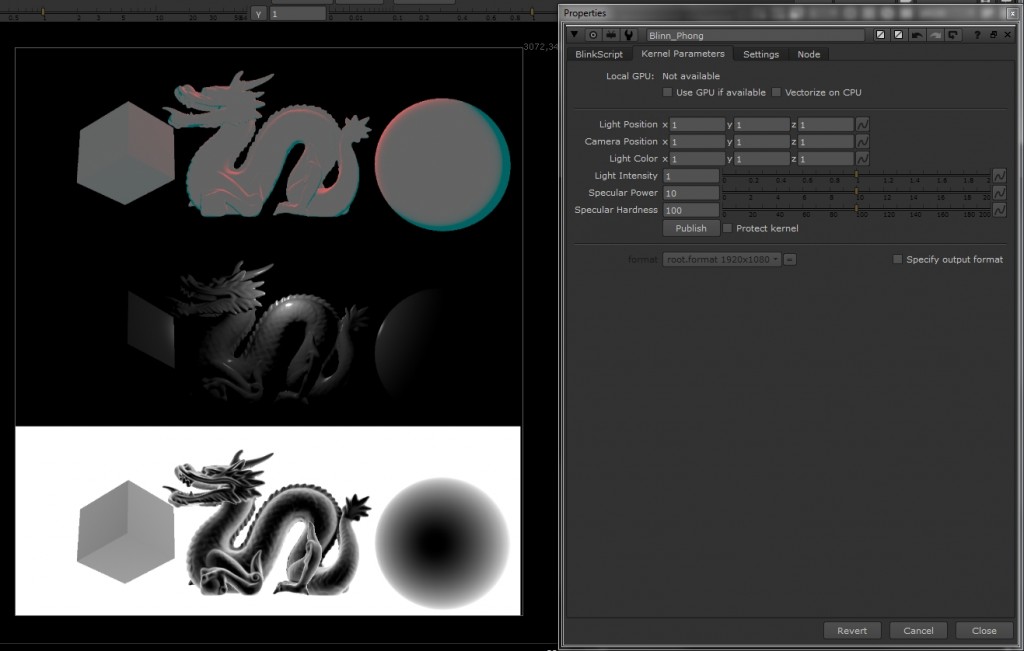
ShadersBreakdown (3 simple shaders using the blink node, 2 color Velvet,Improved Blinn Phong, and Lmbert)

Translucency Shader in Nuke

March 11, 2014

Last year i did some study on pixelshaders and how i could turn point data and normals into light, reflections, refractions and shadows.

As a part of that study i created this simple Translucency shader for Nuke.

Nuke Scanline Translucency/SSS Gizmo from Hagbarth on Vimeo.

Using a projection node with the backface option turned on i can return the backside of the model. Substracting it from the front you get the thikness of the object. Slightly blurring the result and grading it gives the illution of Translucency.

Dragonshader2

Creating artist-friendly workflow tools for Nuke and Shotgun

March 11, 2014

Dealing with over 2000 vfx shots for 13 vfx artist in a few months takes alot coordination, discipline and a good solid workflow/pipeline. On the 24 episodes TV show “Tvillingerne og Julemanden” I was Pipeline TD along with being comper. 

Using the Python implementation in nuke i created a series of tools to make the day-to-day workflow a breeze for both the artists, supervisor and coordinator.


Nuke + Shotgun : Postyr Postproduction’s Pipeline Tools from Hagbarth on Vimeo.

Prepare:

For the prep stage i created a tool that took all tasks created in shotgun, located DPX stacks and uploaded thumbnails with burned-in info about the shot. This is really handy for visually getting a overview of your shots both in the web interface but also in the Nuke frontend.


Setup: 

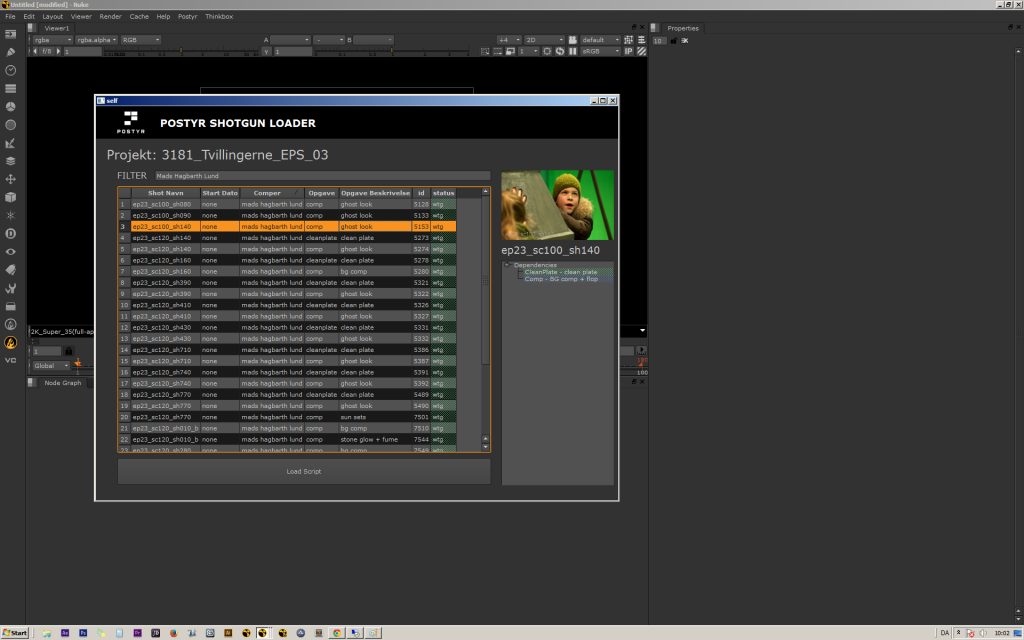
For the setup stage i created a Nuke frontend to Shotgun. Listing all the shots that the artist are suppose to work on, the start date, task type, description and status.

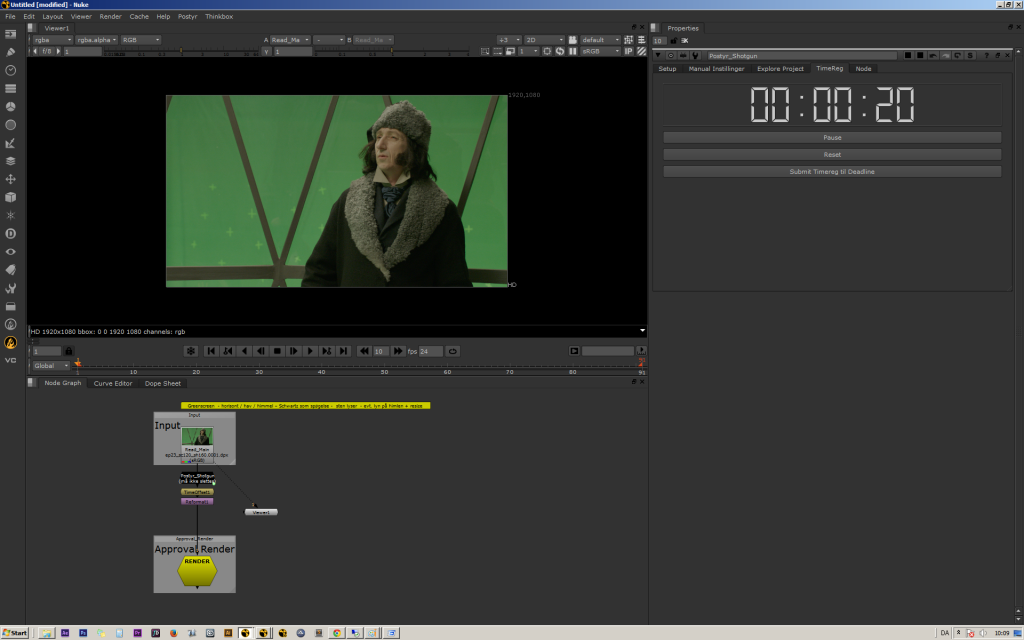
1

This is what the user would see once he/she loaded up the task loder. In the right side you can see a list of all the dependencies that are to be forfilled before this task can begin.


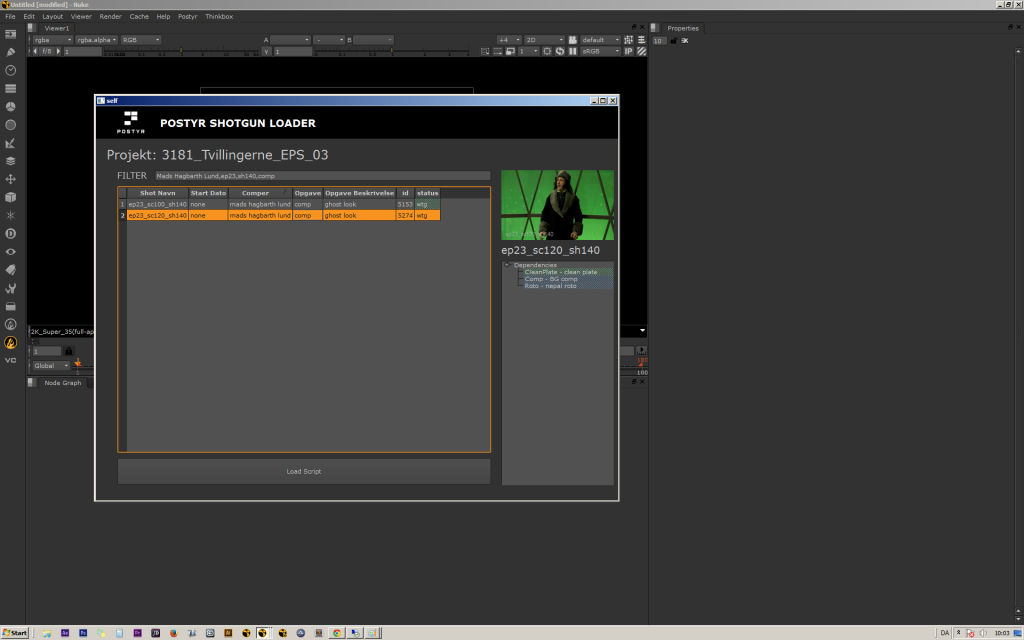
2

In the filter section the artist could specify filters and seperate filters with Commas. So if you only wanted to see cleanplate tasks that was assigned to you and RandomArtist you could say “MyName,RandomArtist,cleanplate” and you would only see thoes.


Work:

3

Once you hit load all folders (such a preview, project and render) would be created. The dpx stack would be imported and the nuke project, reads and renders would be setup to all the right formats and settings. A sticky node would be created aswell with a little node from the editorial department with info on what the artist should do in  this particular task. The artist would be exposed to a timer node that you would be able to enable while working, and then once the tasks was complete or another person would take over the artist could submit the time into the shotgun task.

This would make a accurate timeframe for the bids and also give a picture on how long each kind of tasks would take.

5

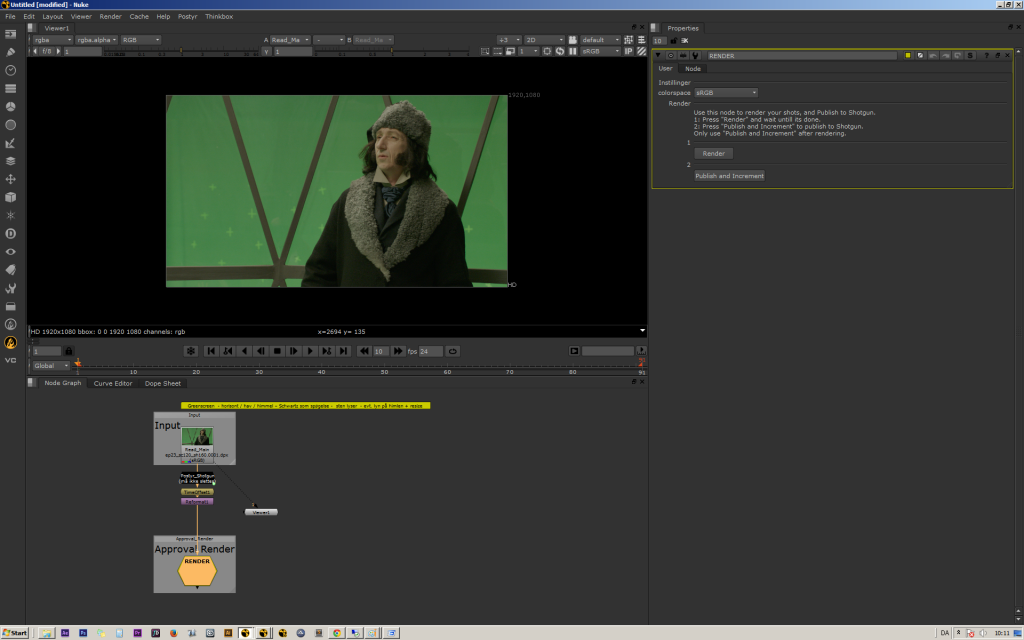
Once the task is ready to render the rendernode would expose only a render and publish button.

The render node will render a file for personal review.

The publish button will create a JPG stack and h264 quicktime for review, upload the quicktime to shotgun for screening room, add the task and quicktime to a daily playlist (dailies) and change the status of the task so the supervisor could see that the shot was ready for review.


Dissecting the Nuke CameraTracker node.

October 20, 2013

Update: Nuke 8 fixed / added some of this functionality.

CameraTracker to RotoShape

The 3D Camera Tracker node in nuke is quite nice, but does have its limitations. One of the cool things is that you can export individual tracking features as “Usertracks” and use those as a 2D screenspace track. However you can only select tracks from 1 frame at a time and you can only export a maximum of 100 tracks in one single node. You cannot track single features manually and you cannot do object solving.

Well…. unless you use python =)


Extracting All FeatureTracks

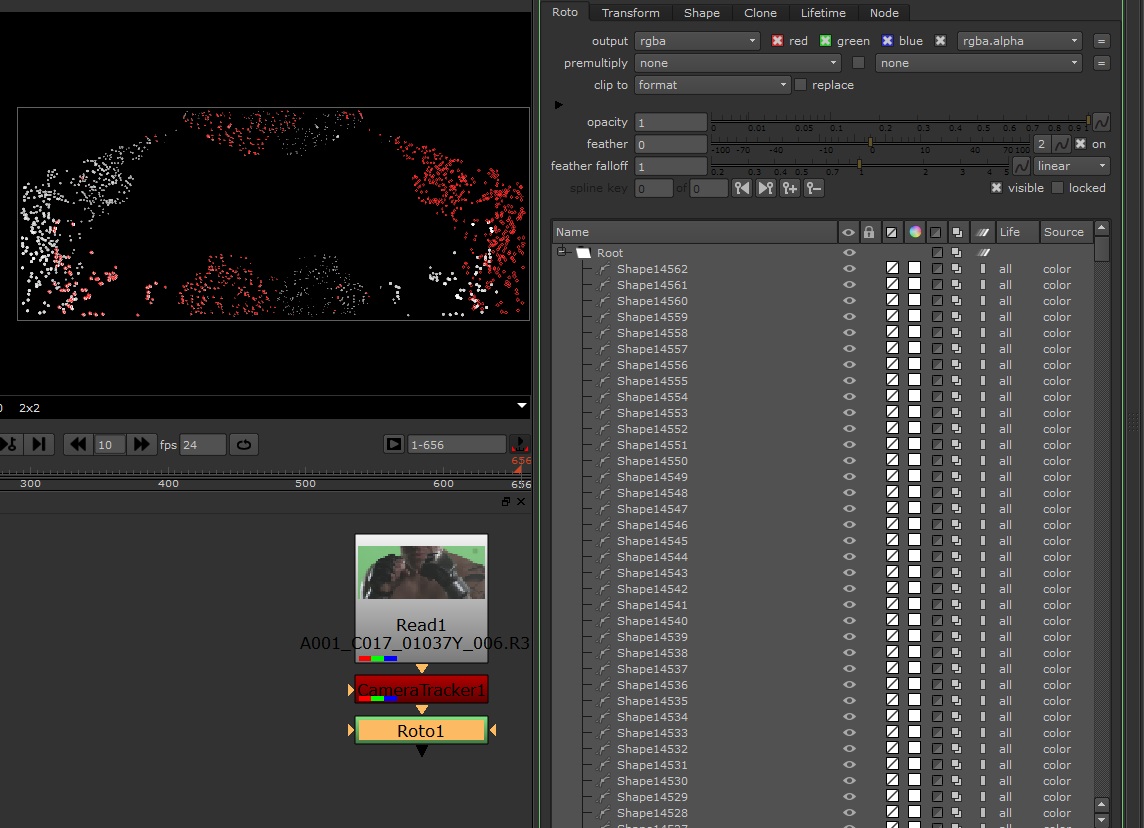
I have created a script that returns a full list of tracking points from a CameraTracker node. This can for example be fed into a rotopaint node to do something like this:

Nuke CameraTracker to Rotoshapes from Hagbarth on Vimeo.


Here is some sample code that will let you export all FeatureTracks from a CameraTracker node:

'''================================================================================
; Function:             ExportCameraTrack(myNode):
; Description:          Extracts all 2D Tracking Featrures from a 3D CameraTracker node (not usertracks).
; Parameter(s):         myNode - A CameraTracker node containing tracking features
; Return:               Output - A list of points formated [ [[Frame,X,Y][...]] [[...][...]] ]
;                           
; Note(s):              N/A
;=================================================================================='''
def ExportCameraTrack(myNode):
    myKnob = myNode.knob("serializeKnob")
    myLines = myKnob.toScript()    
    DataItems = string.split(myLines, '\n')
    Output = []
    for index,line in enumerate(DataItems):
        tempSplit = string.split(line, ' ')
        if (len(tempSplit) > 4 and tempSplit[ len(tempSplit)-1] == "10") or (len(tempSplit) > 6 and  tempSplit[len(tempSplit)-1] == "10"): #Header
            #The first object always have 2 unknown ints, lets just fix it the easy way by offsetting by 2
            if len(tempSplit) > 6 and  tempSplit[6] == "10":
                offsetKey = 2
                offsetItem = 0
            else:
                offsetKey = 0
                offsetItem = 0
            #For some wierd reason the header is located at the first index after the first item. So we go one step down and look for the header data.
            itemHeader = string.split(myLines, '\n')[index+1]
            itemHeadersplit = string.split(itemHeader, ' ')
            itemHeader_UniqueID = itemHeadersplit[1]
            #So this one is rather wierd but after a certain ammount of items the structure will change again.
            if len(itemHeadersplit) == 3:
                itemHeader = string.split(myLines, '\n')[index+2]
                itemHeadersplit = string.split(itemHeader, ' ')
                offsetKey = 2
                offsetItem = 2
            itemHeader_FirstItem = itemHeadersplit[3+offsetItem]
            itemHeader_NumberOfKeys = itemHeadersplit[4+offsetKey]
            #Here we extract the individual XY coordinates
            PositionList =[]
            for x in range(2,int(itemHeader_NumberOfKeys)+1):
                PositionList.append([int(LastFrame)+(x-2),string.split(DataItems[index+x], ' ')[2]  ,string.split(DataItems[index+x], ' ')[3]])
            Output.append(PositionList)
        elif (len(tempSplit) > 8 and tempSplit[1] == "0" and tempSplit[2] == "1"):
            LastFrame = tempSplit[3]
        else:  #Content
            pass
    return Output

import string #This is used by the code. Include!

#Example 01:
#This code will extract all tracks from the camera tracker and display the first item.
Testnode = nuke.toNode("CameraTracker1") #change this to your tracker node!
Return = ExportCameraTrack(Testnode)
for item in Return[0]:
    print item

Remember if dealing with 1000+ features you need to bake keyframes and not use expressions as it will slow down the nuke script immensely.


Manual Single Feature Track

I did some additional tests with this, for example making the reverse of this script and giving me the option to add 2D tracks from a tracker node to the 3D Camera tracking node.


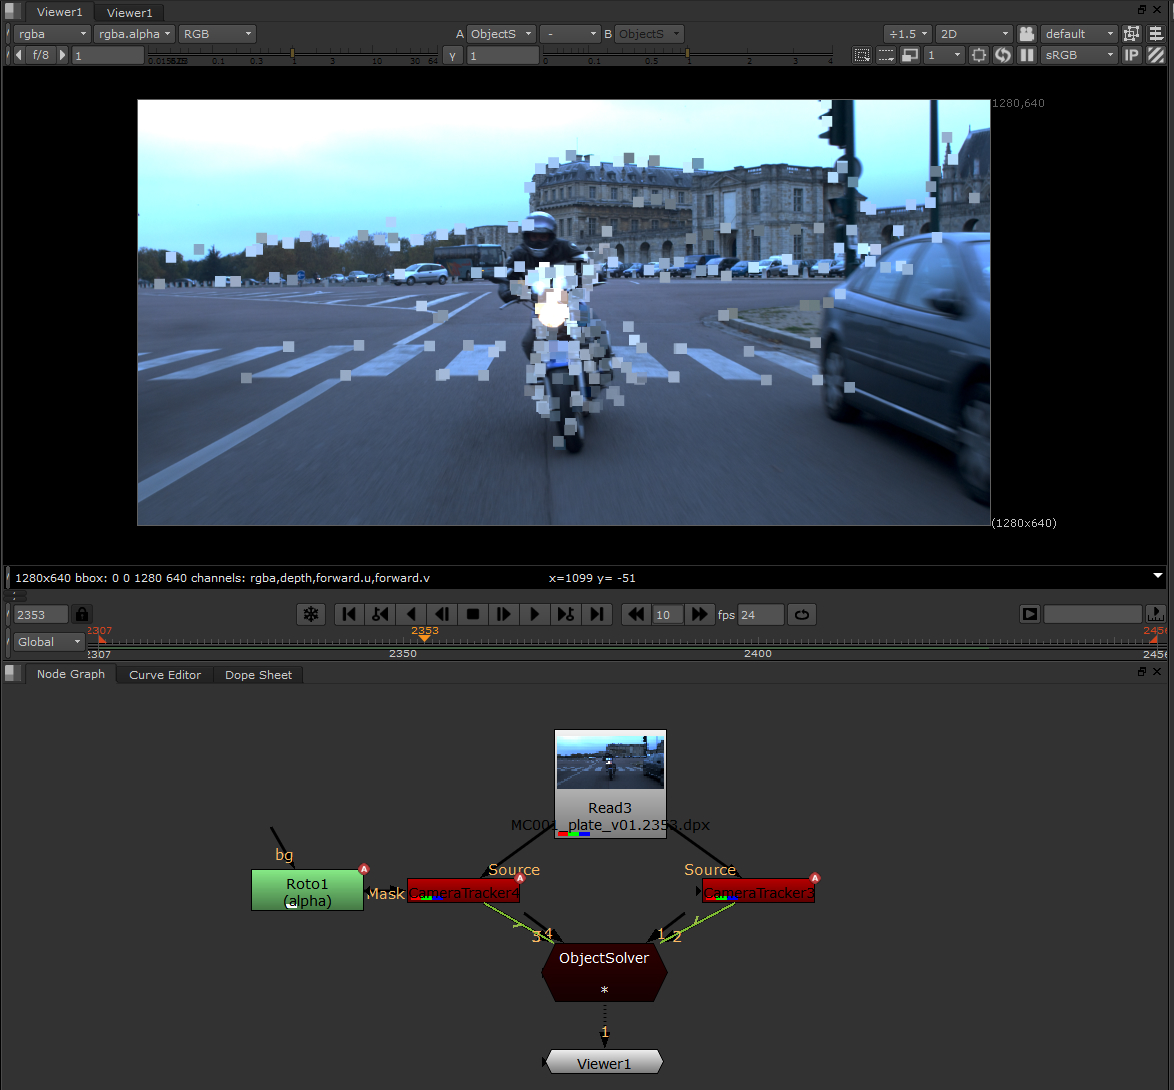
Object Solver

Now this is not related to the 2d tracking points but still a simple thing that should be included in the tracker.

Nuke Object Tracking