Petzval for Nuke – Swirly Bokeh using Blink Script

April 29, 2014

I remember seeing this video from Jason Bognacki for the first time and immediately thinking “Wow… I must replicate that effect in Nuke”.

I contacted Jason and bought one of his modded lenses for me to study and play around with.

PETZVAL-MOD™- 58MM F2.0 (W/ MODIFIED ELEMENTS) from Jason Bognacki on Vimeo.

Not only is it an artistically interesting effect, it also raises a problem with Defocus, Z-defocus, Convolve and pgBokeh nodes alike. They all mimic the perfect optical element alignment in a lens. And most lenses have alot of “swirl” and distortion in their bokeh. If you look at this image you can clearly see how the bokeh circles at the edges of the frame are “facing away” from the center of the image (also referred to as “onion bokeh”), and this effect is occurring quite often.


So i decided to make a new Z-Defocus node for Nuke that generates swirly bokeh, and thanks to the new Blink Script node and the convolve examples provided by The Foundry this was a rather easy task to accomplish.

The node itself takes 4 inputs.

  • Filter Input – Changes the look of the bokeh
  • Depth Map – Depth map, but can also be used for masking.
  • Direction Vector – This map defines the direction that the bokeh should face, I have included anoter blink node that creates the default 360 map but you can make it face any direction you want.
  • Input Image – The image to apply the effect to.


Petzval_07

(Image from Tivoli – Copenhagen)

Here are a few results:

Petzval_01

Petzval_02

Petzval_03

Petzval_04

Petzval_05


There are still a few adjusments to do, but sofar im pretty sattesfied with the result.


Trying out Nuke Blink Script

April 29, 2014

One of the most exiting new features, actually.. the most exiting feature in Nuke 8 was the addition of the Blink Script node.

At the point of the announcement i was acturally working on a shder manager for nuke, mainly using the basic expression node. The expression node is nice but you need a ton of them and from time to time nuke doesn’t update the data stream causing the output image to be invalid.
ShadersBreakdown2 (The nuke shader manger i was working on)

The blink node means that i can gather all my shader code inside a single node.
However as the blink node cannot reference anything outside the input rgb channels i still have to create 1 blink node for each light.

ShadersBreakdown (3 simple shaders using the blink node, 2 color Velvet,Improved Blinn Phong, and Lmbert)

Dissecting the Nuke CameraTracker node.

October 20, 2013

Update: Nuke 8 fixed / added some of this functionality.

CameraTracker to RotoShape

The 3D Camera Tracker node in nuke is quite nice, but does have its limitations. One of the cool things is that you can export individual tracking features as “Usertracks” and use those as a 2D screenspace track. However you can only select tracks from 1 frame at a time and you can only export a maximum of 100 tracks in one single node. You cannot track single features manually and you cannot do object solving.

Well…. unless you use python =)


Extracting All FeatureTracks

I have created a script that returns a full list of tracking points from a CameraTracker node. This can for example be fed into a rotopaint node to do something like this:

Nuke CameraTracker to Rotoshapes from Hagbarth on Vimeo.


Here is some sample code that will let you export all FeatureTracks from a CameraTracker node:

'''================================================================================
; Function:             ExportCameraTrack(myNode):
; Description:          Extracts all 2D Tracking Featrures from a 3D CameraTracker node (not usertracks).
; Parameter(s):         myNode - A CameraTracker node containing tracking features
; Return:               Output - A list of points formated [ [[Frame,X,Y][...]] [[...][...]] ]
;                           
; Note(s):              N/A
;=================================================================================='''
def ExportCameraTrack(myNode):
    myKnob = myNode.knob("serializeKnob")
    myLines = myKnob.toScript()    
    DataItems = string.split(myLines, '\n')
    Output = []
    for index,line in enumerate(DataItems):
        tempSplit = string.split(line, ' ')
        if (len(tempSplit) > 4 and tempSplit[ len(tempSplit)-1] == "10") or (len(tempSplit) > 6 and  tempSplit[len(tempSplit)-1] == "10"): #Header
            #The first object always have 2 unknown ints, lets just fix it the easy way by offsetting by 2
            if len(tempSplit) > 6 and  tempSplit[6] == "10":
                offsetKey = 2
                offsetItem = 0
            else:
                offsetKey = 0
                offsetItem = 0
            #For some wierd reason the header is located at the first index after the first item. So we go one step down and look for the header data.
            itemHeader = string.split(myLines, '\n')[index+1]
            itemHeadersplit = string.split(itemHeader, ' ')
            itemHeader_UniqueID = itemHeadersplit[1]
            #So this one is rather wierd but after a certain ammount of items the structure will change again.
            if len(itemHeadersplit) == 3:
                itemHeader = string.split(myLines, '\n')[index+2]
                itemHeadersplit = string.split(itemHeader, ' ')
                offsetKey = 2
                offsetItem = 2
            itemHeader_FirstItem = itemHeadersplit[3+offsetItem]
            itemHeader_NumberOfKeys = itemHeadersplit[4+offsetKey]
            #Here we extract the individual XY coordinates
            PositionList =[]
            for x in range(2,int(itemHeader_NumberOfKeys)+1):
                PositionList.append([int(LastFrame)+(x-2),string.split(DataItems[index+x], ' ')[2]  ,string.split(DataItems[index+x], ' ')[3]])
            Output.append(PositionList)
        elif (len(tempSplit) > 8 and tempSplit[1] == "0" and tempSplit[2] == "1"):
            LastFrame = tempSplit[3]
        else:  #Content
            pass
    return Output

import string #This is used by the code. Include!

#Example 01:
#This code will extract all tracks from the camera tracker and display the first item.
Testnode = nuke.toNode("CameraTracker1") #change this to your tracker node!
Return = ExportCameraTrack(Testnode)
for item in Return[0]:
    print item

Remember if dealing with 1000+ features you need to bake keyframes and not use expressions as it will slow down the nuke script immensely.


Manual Single Feature Track

I did some additional tests with this, for example making the reverse of this script and giving me the option to add 2D tracks from a tracker node to the 3D Camera tracking node.


Object Solver

Now this is not related to the 2d tracking points but still a simple thing that should be included in the tracker.

Nuke Object Tracking

Reading Lidar data into nuke.

October 20, 2013

Nuke Lidar Reader


Did some testing with my pointclouder python script i wrote for Nuke, attatching it to a CSV reader i loaded in some examples posted on the Nuke user forums: http://forums.thefoundry.co.uk/phpBB2/viewtopic.php?t=6982&postdays=0&postorder=asc&start=0 , sadly the data did only include luminance and not color data, but it still gives quite a good readout.

5 million points is a bit much to work with but filtering off 80% of the points still give a great result.

Nuke Point Cloud for big datasets

October 20, 2013

Nuke Million Points

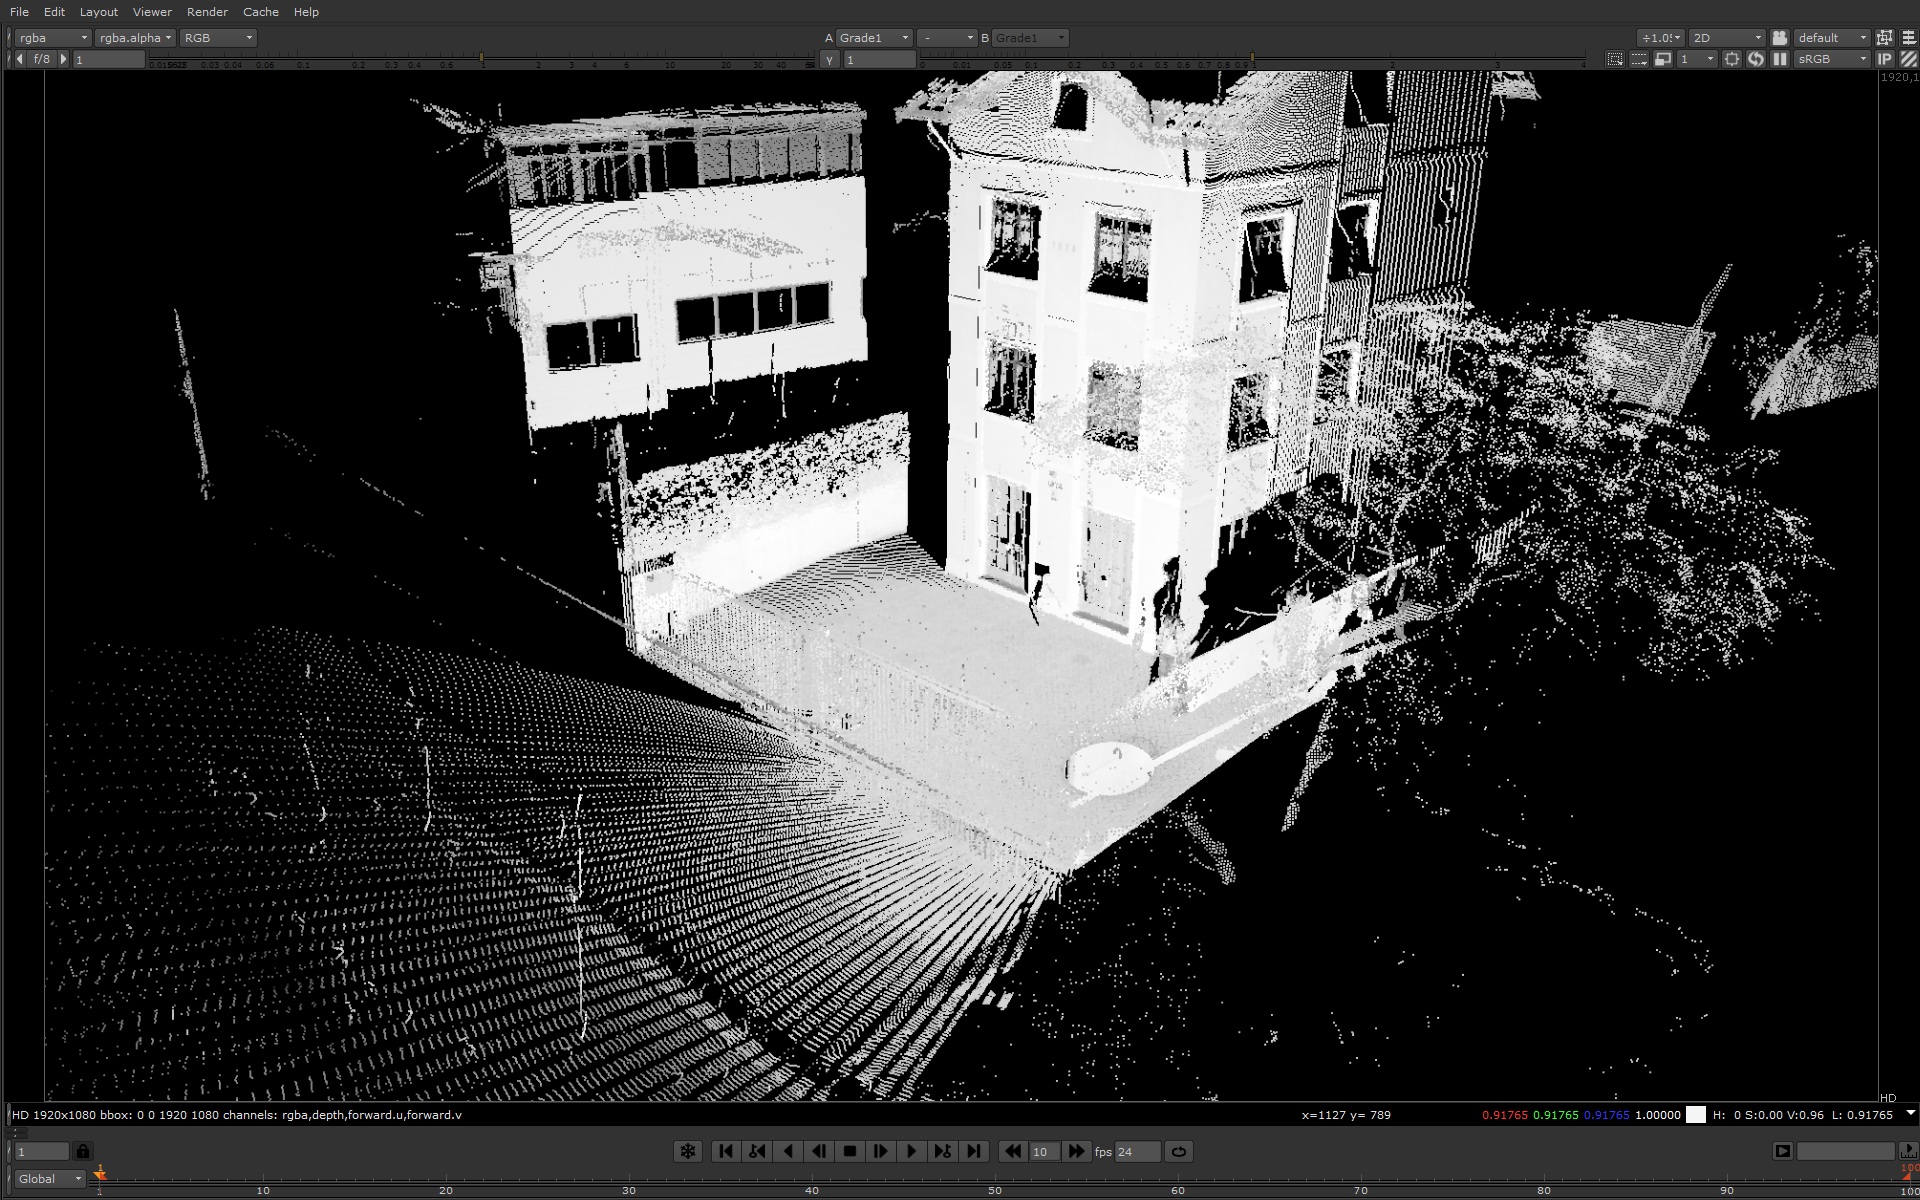
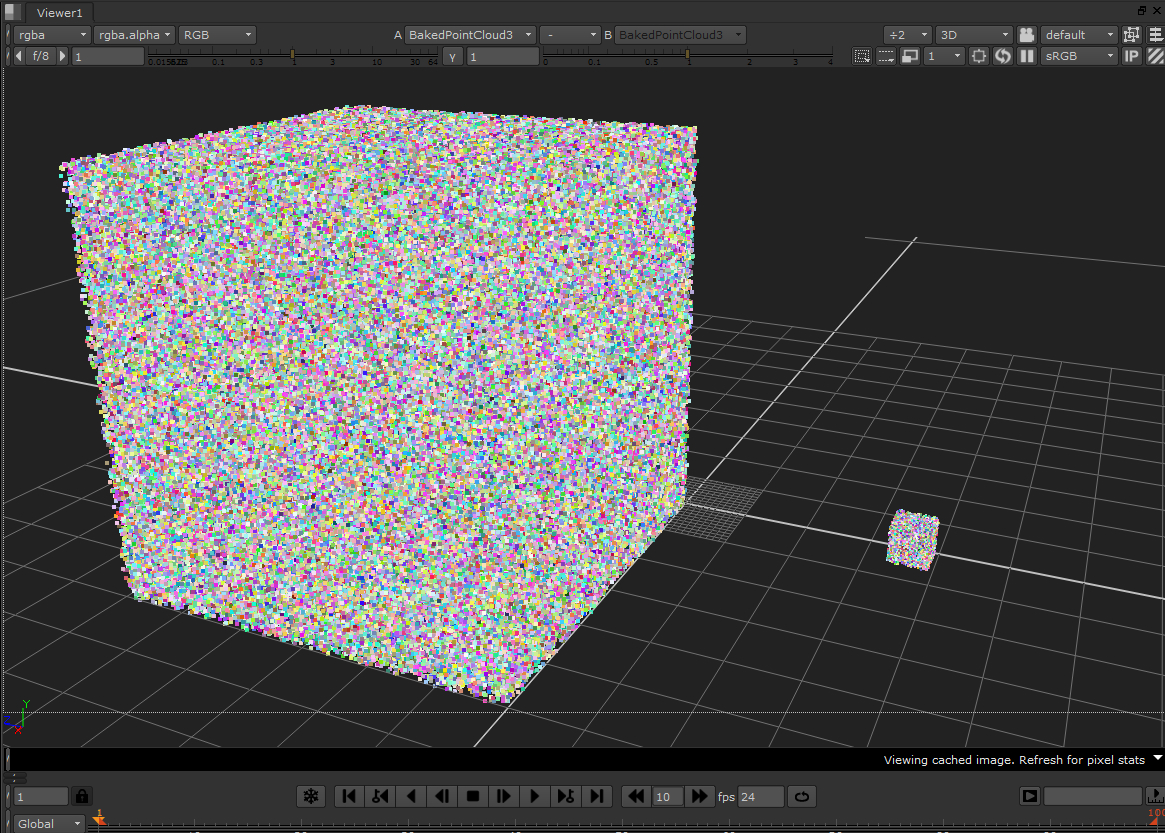
(a 10.000 point cube by a one million point cube)


Generating and managing big 3d data sets inside nuke using python is quite easy using the BakedPointCloud node.

A quick rundown of the node:

set cut_paste_input [stack 0]
version 7.0 v6
BakedPointCloud {
inputs 0
serializeKnob ""
serializePoints "2 1 0 0 2 0 0 "
serializeNormals "2 1 0 0 -1 0 0 "
serializeColors "2 0.0290033 0.0490741 0.100975 0.0290033 0.0490741 0.100975 "
name BakedPointCloud1
label Group1
selected true
xpos 725
ypos 967
}

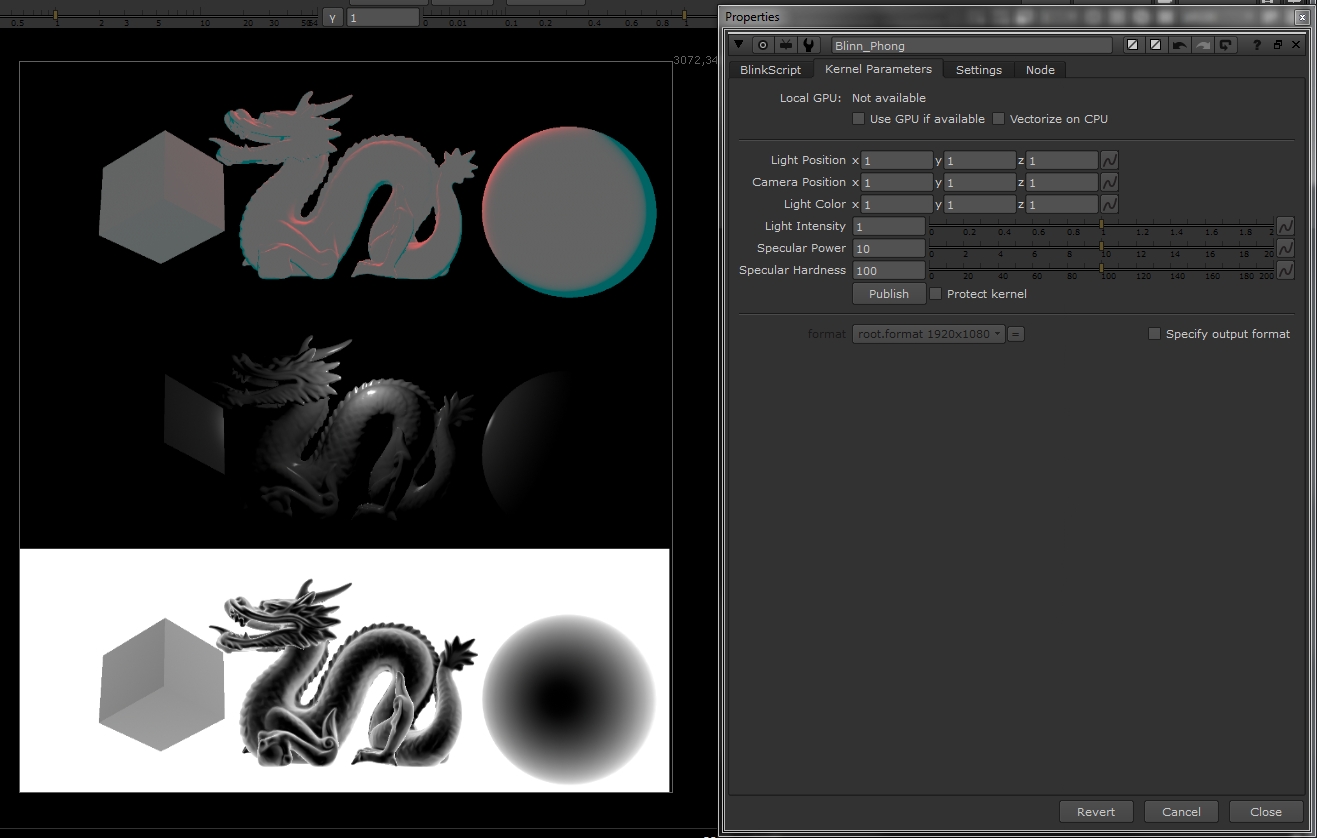
This is a example of the BakedPointCloud created by the point cloud generator.
We can use this to generate 3D points on the fly (sadly not animated!)

Lets desect it:

set cut_paste_input [stack 0]
version 7.0 v6
BakedPointCloud {
inputs 0
serializeKnob ""
serializePoints "2 1 0 0 2 0 0 " #This part is where the points are stored, first we get the point count, followed by X Y and Z for each point. In this case we have 2 points at 1,0,0 and 2,0,0
serializeNormals "2 1 0 0 -1 0 0 " #This is the normals, and this might not seem interesting at first since its just points, however this can be used for sending off particles into a desired direction.
serializeColors "2 0.0290033 0.0490741 0.100975 0.0290033 0.0490741 0.100975 " #This is the colors, sadly the particle emitter won't sample them
name BakedPointCloud1
label Group1
selected true
xpos 725
ypos 967
}


To sum up, lets say we want to create a single point at position 100,20,-45.2

set cut_paste_input [stack 0]
version 7.0 v6
BakedPointCloud {
inputs 0
serializeKnob ""
serializePoints "1 100 20 45.2 "
serializeNormals "1 1 1 0 "
serializeColors "1 1 0 0"
name BakedPointCloud1
label Group1
selected true
xpos 725
ypos 967
}

I have created this code for generating pointclouds, this example will generate a cube of a million points.

'''================================================================================
; Function:				PointClouder(points):
; Description:        	Generate a pointcloud from a series of specified points
; Parameter(s):			points - A list a points formated [[X,Y,Z,VEL_X,VEL_Y,VEL_Z,COL_R,COL_G,COL_B][...]]
; Return:				myNode - The pointcloud node created by the function
;                    		
; Note(s):            	by Mads Hagbarth Lund 2013
;=================================================================================='''
def PointClouder(points):
	pc_Points=pc_Velocities=pc_Colors = str(len(points))+ " " 					#Get the ammount of points
	pc_Points = pc_Points + " ".join(str(i) for i in chain1(*points)) 			#Convert the points from list to clean text
	pc_Velocities = pc_Velocities + " ".join(str(i) for i in chain2(*points))
	pc_Colors = pc_Colors + " ".join(str(i) for i in chain3(*points))
	myNode = nuke.createNode("BakedPointCloud") 								#Create a empty PointCloud node
	myNode.knob("serializePoints").fromScript(pc_Points)						#Append the data
	myNode.knob("serializeNormals").fromScript(pc_Velocities)
	myNode.knob("serializeColors").fromScript(pc_Colors)
	return myNode

def chain1(*iterables):
    for it in iterables:
        for element in it[0:3]:
            yield element

def chain2(*iterables):
    for it in iterables:
        for element in it[3:6]:
            yield element

def chain3(*iterables):
    for it in iterables:
        for element in it[6:9]:
            yield element       

#Example 2
import random
MyTestPointCloud = []
index = 0
for x in range(0,1000000):
	MyTestPointCloud.append([random.uniform(0, 600),random.uniform(0, 600),random.uniform(0, 600),4,5,6,random.uniform(0, 1),random.uniform(0, 1),random.uniform(0, 1)])
PointClouder(MyTestPointCloud)