Pixel Filling Methods

January 29, 2019


Blur + Unpremult

There are many ways to fill in missing or unwanted sections of an image with content that matches the surrounding pixels.
One of the most common methods among Nuke artist is to first blur the image, and then unpremultiplying it (turning the soft alpha area solid), and then adding it underneath the original image using the mask as a holdout.
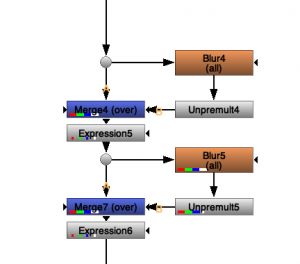
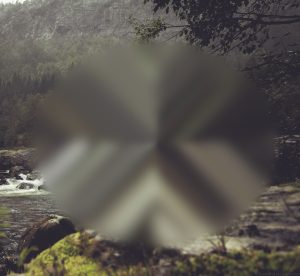
This method sadly often have some streak artifacting (shown to the right->) and attempts to reduce the streaks often cause a great deal of extra computation time.
The other downside is that you often need to change the parameters depending on the size of the mask, so if the area is changing in size or you have multiple holes with different sizes you will need to adjust or split the work up into multiple sections.
Downsampling

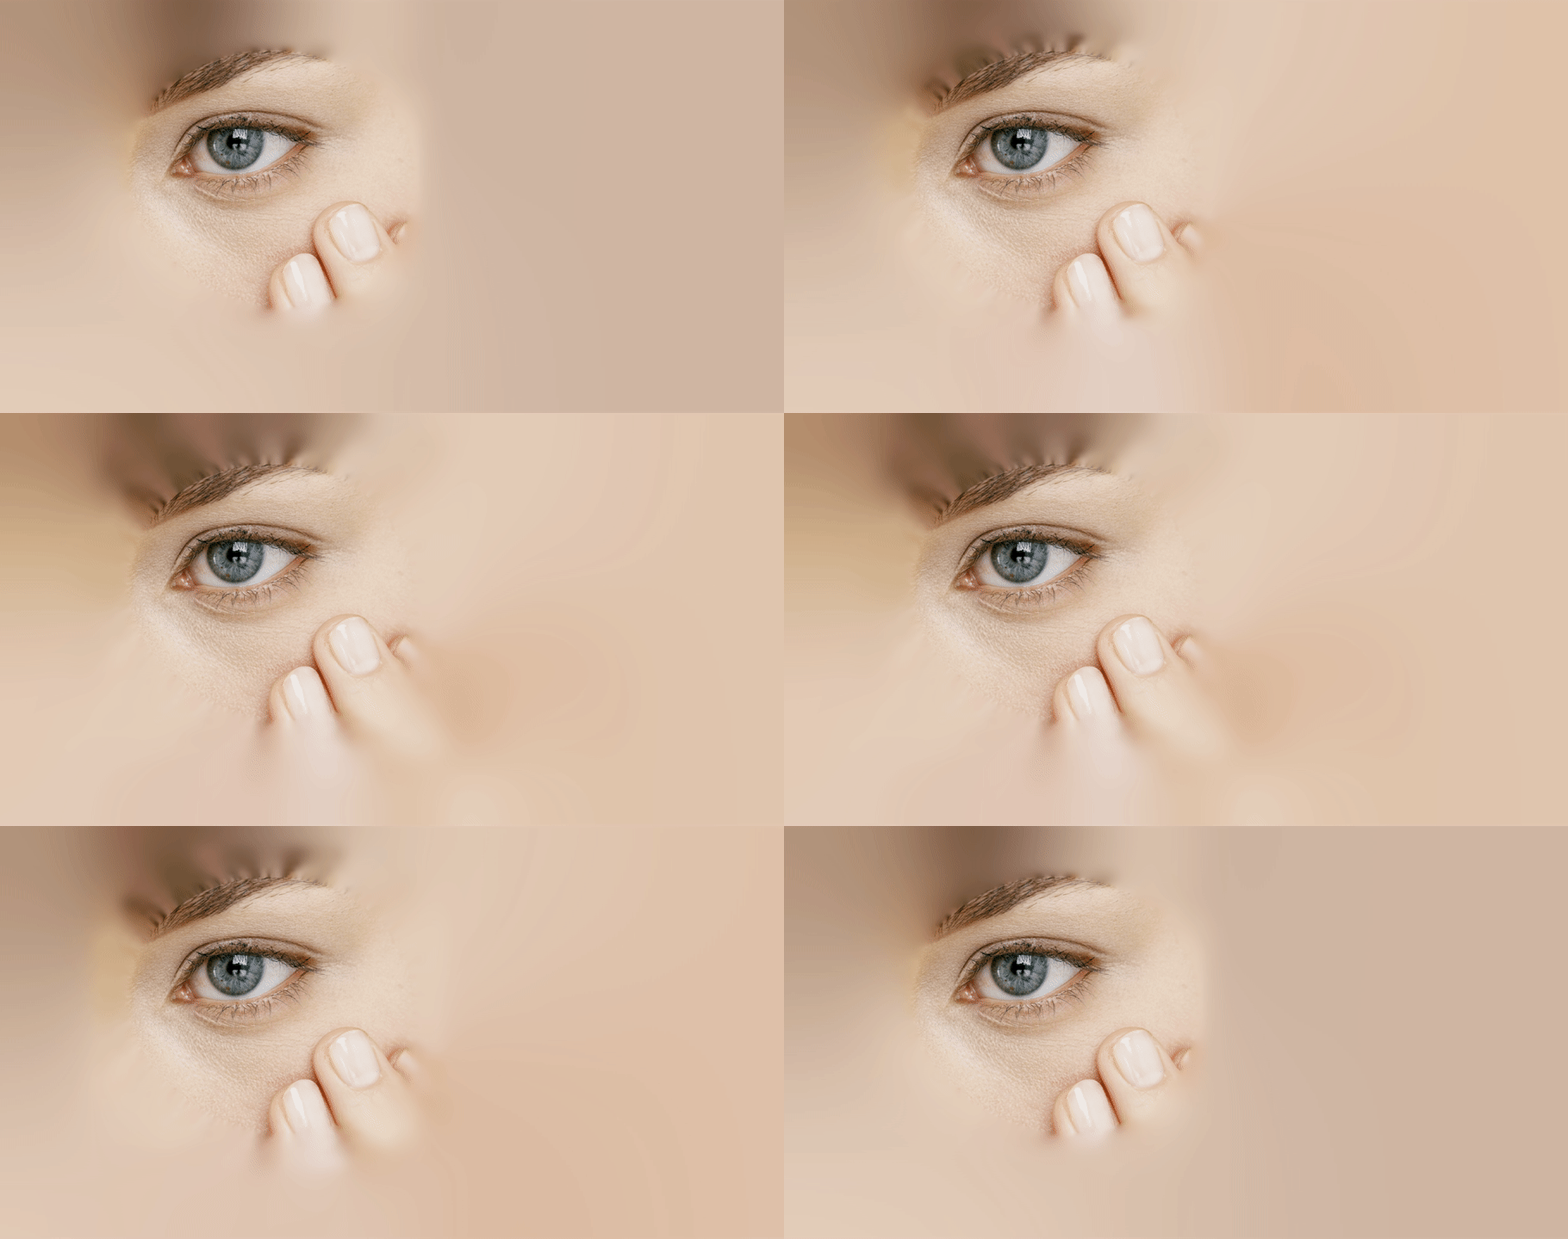
There is another method which is quite fast, simple and also independent of the mask radius. This method revolves around incrementally reducing the image size with an average filter, and for each incremental step, adding it back underneath the original by upsampling with a soft filter method.
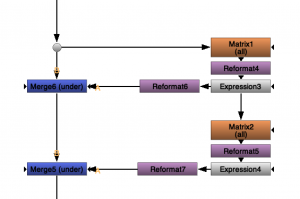
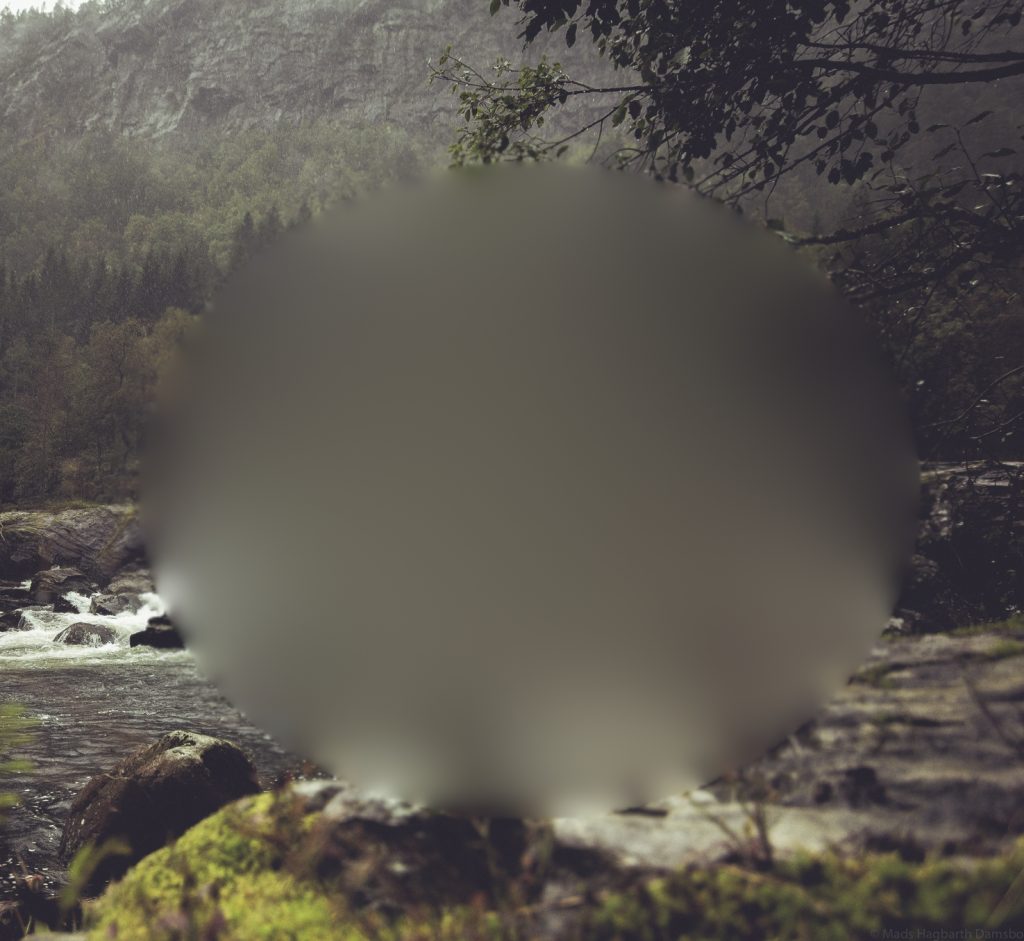
  • Let's start off by taking the main image and making a hole it in with a mask.
  • For each pixel we adding the 2x2 neighbouring pixels
  • We now reduce the size of the image in half with a impulse filter leaving out every 2nd pixel.
  • Then we unpremultiply all colors (including the alpha)
  • We can now take a copy image the image and upres it to the original resolution and add it underneath the main image.
  • We now apply the same process over and over again untill we reach a image that can no longer be halfed in size.

I would have assumed that the best way to do this would be to do the averaging and reformating in the same step to avoid having to make calculations that we throw out anyway. But after trying with blinkscript, expression nodes, transforms and matrecies i found that using the matrix node and throwing away the data was giving the best performance.

Taking it further

One of the thing you will notice right away is the logarithmic look of the sampling caused by the logarithmic stepping in resolutions. We go quickly from a high frequency image to a low frequency image. 

We can remedy this by running each level all the way from the base resolution. Doing this all the way to the smallest resolution takes quite a bit more processing than the base version, so we would most likely be best off by adding a parameter to choose how far down the sampling tree we want to go before we switch back to the normal version.
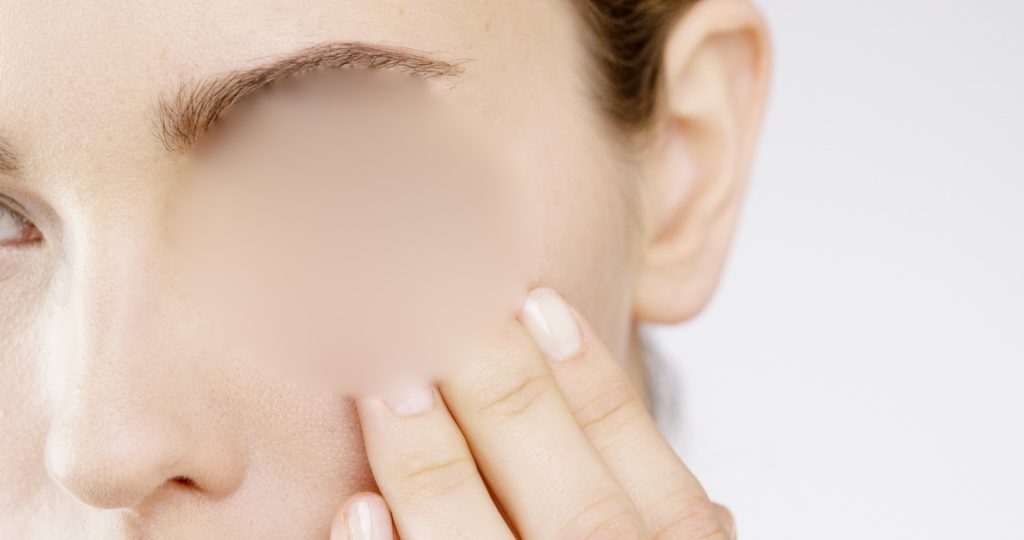
Want to try it out yourself? Download a example implementation here: http://www.hagbarth.net/nuke/FFfiller_v01.nk


Roto-brush point reduction

January 28, 2018

One of the (many) things that can slow down Nuke scripts is a extensive use of Roto brushes.
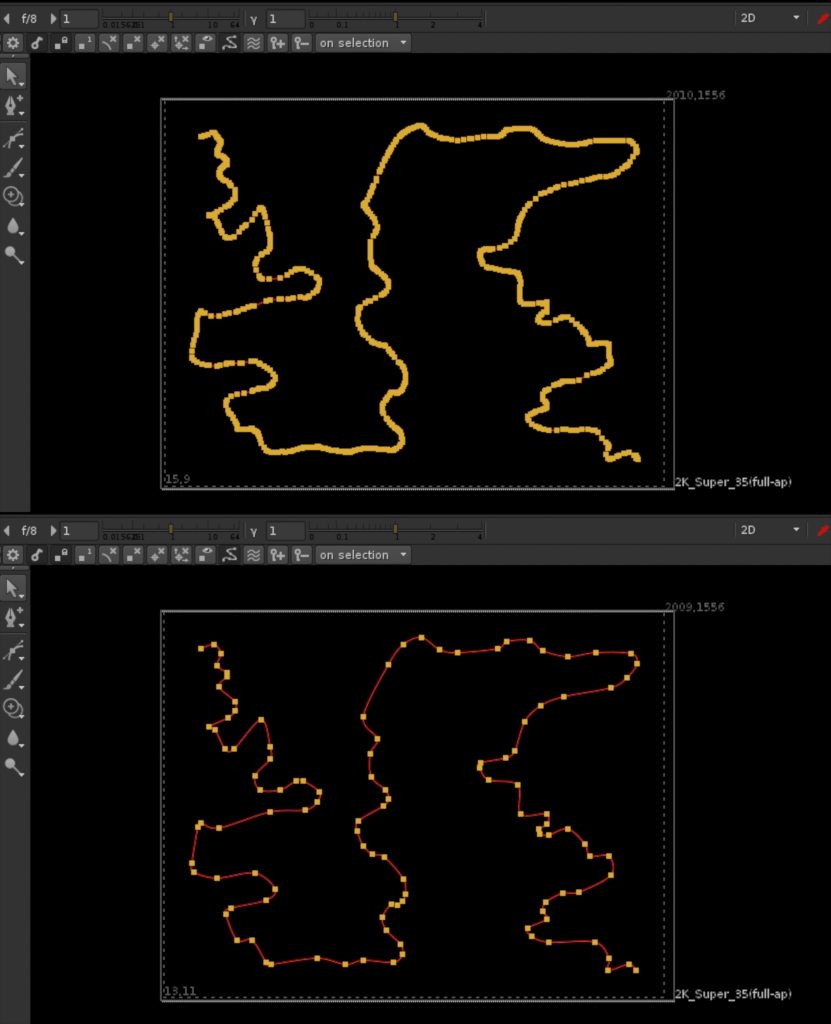
Nuke does not do any smart cleanup of brushes after you lay them out, and that sadly leads to a ton a redundant roto points, that does nothing but take up space and make your script slower to process and autosave.
I also see a lot of people who use the roto brush-strokes extensively for beauty work, one good example being Nathaniel Westveer’s beauty work series on FXPHD. Where he first paint a stoke, then delete 95% of the points to get something that is easy to hand animate.

So i have created a little python script that uses Ramer–Douglas–Peucker’s algorithm to reduce the point count quite significantly. And you can get it right here: https://github.com/Malu05/NukePublic
One thing that you should note is that the roto.remove function is sadly quite slow, and when you expand it to hundreds of points it can get somewhat bad. You can optimize this greatly by writing your own function that does not remove one point at a time, but all of the redundant points at once (just re-write the whole shape).

Adding Tangent Panel Support for Hiero, NukeStudio & Nuke

August 8, 2017

After having a talk with Alex Fry from Animalogic, regarding hardware support in TheFoundry’s products, i took contact with the guys over at TangentWave to see if we could get support for their panels.
They provided me with their developer tools, and so i created a open Python socket controller, that allow you to connect the panels to any software you want, that have a python shell.

Once that was done i started some basic tests in Nuke, and have now added full support for all the panels in NukeStudio and Hiero.
In this video you can see me running NukeStudio with a full set of Tangent Element panels.

Once ready the full code will be made available on Github.

You can see all the tangent panels at tangentwave.co.uk/products/

Creating a (viewer) interactive Nuke Gizmo.

February 26, 2017

One of my biggest Nuke-Python requests for TheFoundry, is the ability to grab the mouse X and Y position in the viewer. It would open up a whole new world of interactivity in toolsets, gizmos and custom python scripts. Thanks to a conversation in the Nuke Mailing List and Ben Dickson’s example code i have cooked up a little example tool that utilizes the cursor position to grab data and display a custom UI element.

First of all, i have not yet found a easy way to get the current position of the cursor. So to get around this i use the color sample bounding box to get the position. This however means that you must hold down CTRL to get it. On the upside, it does feel natural and means the user doesn’t trigger it accidentally.

#Get the bbox data
bboxinfo = nuke.activeViewer().node()['colour_sample_bbox'].value()
#Get the aspect of the input. Note that we sample input[0] for the width and height info!
aspect = float(self.node.input(0).width())/float(self.node.input(0).height())
#Convert relative coordinates into x and y coordinates
self.mousePosition = [(bboxinfo[0]*0.5+0.5)*self.node.input(0).width(),(((bboxinfo[1]*0.5)+(0.5/aspect))*aspect)*self.node.input(0).height()]

Then i need to know if the user does a mouseclick. For that i hook the main QApplication instance.
And to make sure that the event only fires when we are inside the actual viewer window, i grab the viewer widget using Ben Dickson’s code.

Now what this tool does, is that it samples the color that are at the cursor position. (I have created a little “dot” inside my gizmo that i call “sampler”.)

sampleR = self.node.node("sampler").sample('red',self.mousePosition[0],self.mousePosition[1])
sampleG = self.node.node("sampler").sample('green',self.mousePosition[0],self.mousePosition[1])
sampleB = self.node.node("sampler").sample('blue',self.mousePosition[0],self.mousePosition[1])

The Blinkscript that does the color manipulation is using a 2d color lattice, that does basic linear interpolation between each point in the grid.

To get the best color seperation for my tool, I use a custom colorspace called HSP. This gives me a good seperation of color, and have e better ratio to luminance compared to HSV and HSL.
So i convert the 3 sample values into HSP space and find point on the color lattice that is nearest to the current sample.
Now using the relative cursor position i manipulate the HSP color data and convert it back into RGB space.

To create the UI element i use a GPUOp node, the node is being enabled every time the user does the Ctrl Click in the viewer and disabled again once the user release again.