Nuke Auto-Projection Mapper

June 15, 2014

I have been working on a Auto-Projection mapper for Nuke.
If you have a 3D tracked scene, and build up some geometry with the modelbuilder, you need to pick a frame or frames you want to project from to get the best possible texture. This is usually a bit of guess work and some manual fixes. But I wanted to see if i could calculate the optimal frames to project from.

So i have created this toolset that calculates the most optimal frame to project from on every pixel of the UV, and also bakes that optimal texture down for use.
Based on the incidence (sqrt( 1.0 – pow( incidence , 2 ) ) to get the right falloff) , distance, field of view and aperture every pixel on every frame is given a “Quality Index” ranging from 0-1, and the best pixels are combined into the final projection map. If the shutter speed is known the motion-blur could be added to the equation leaving only focal length as a unknown.

Here is a little example video, sadly my 60d have a lot of rolling shutter so its hard to get a steady solve but i guess the video shows the idea quite well.

Nuke Auto-Projection Mapper from Hagbarth on Vimeo.

While this does have its drawbacks (focus, and unmapped intersecting objects), it will no matter what give a very good base texture that you can work out from and a list of frames for every pixel that gives you a overview of what frames are within the best range.

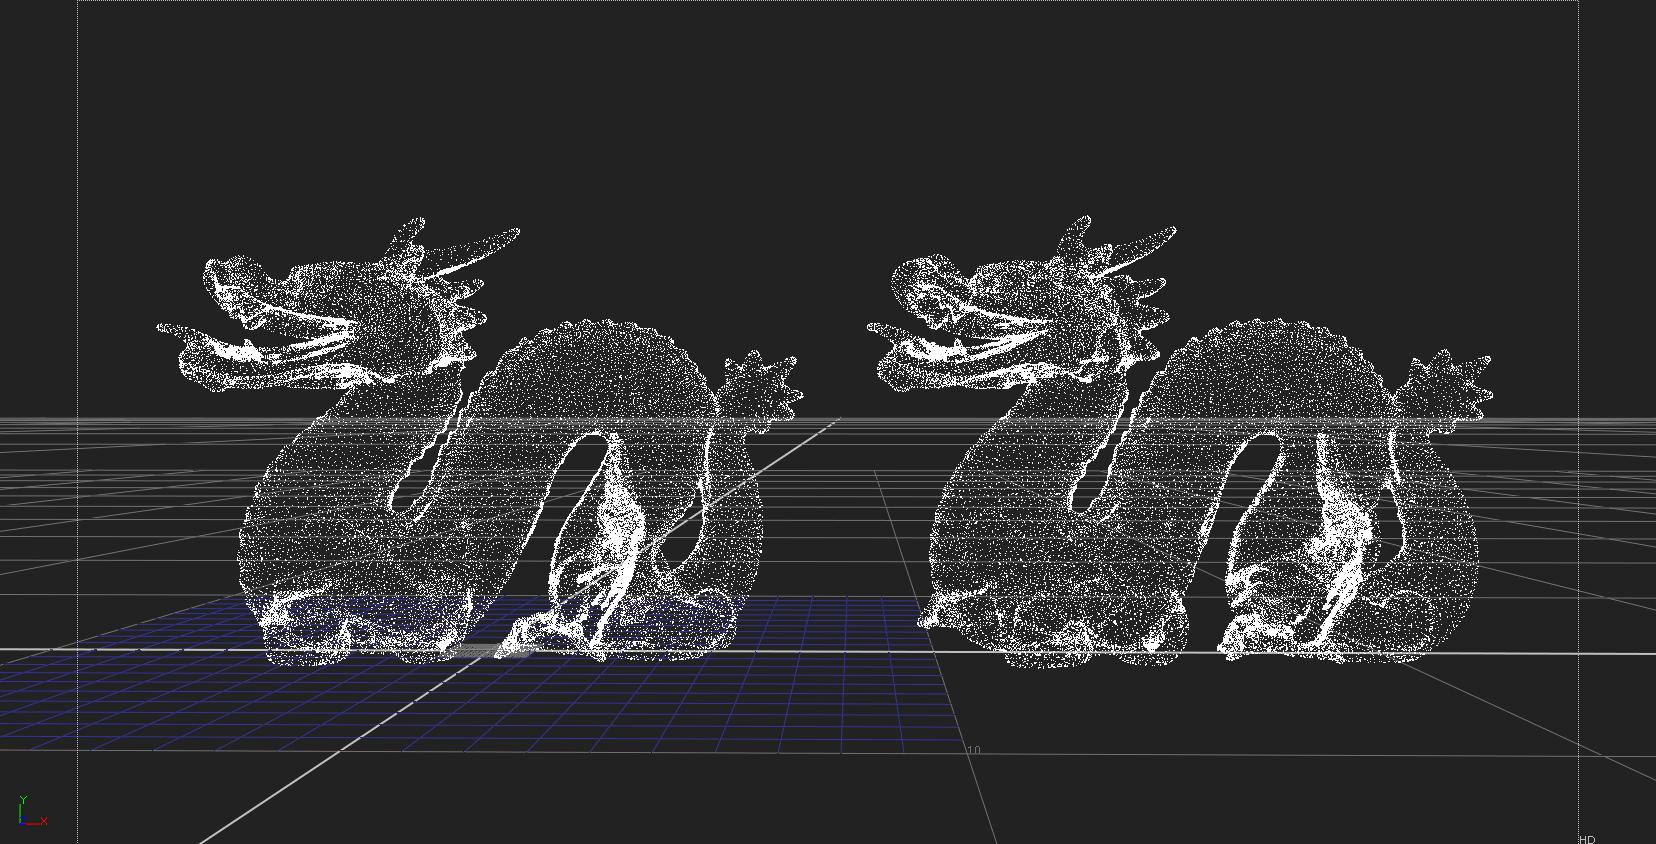
Another thing this could be usefull for is to texturize non-color Lidar scans. You could give it a series of frames or video from a stills camera and it would create a texture based on the optimal views.

Major bug in Nuke’s particle system.

June 4, 2014

TLDR: As of Nuke 8.0v4, there is a bug in the nuke particle system that can cause dramatically increased render-times. Fix Below. 

I created a API for the Edit Geo node, allowing me to interact with the node using python (sadly at work so i can’t share, but it should be pretty self explanatory). With that you can do funky stuff like turing some geo into particles, do some particle operations and then apply the particle transformations to the original geo, with animations and all that jazz.13

And that was were i discovered a major bug in the nuke particle system. If you emit particles from a closed object using the uniform distribution method, nuke will spawn more than 1 particle per vertex causing major performance drop when emitting from dense models or high vertex emission rates. However since the particles are spawned at the exact same spot in sapce, any (almost) particle transformation will apply the same way causing the render to be identical to a render with just 1 particle per vertex but just with longer render and simulation time.

16 On the left 1.800.000 particles spawned from a 150.000 point mesh (each visible particle contains 15 particles) – On the right 150.000 spawned particles from the same 150.000 mesh turned into a pointcloud.

In the example shown above the left dragon, and right dragon render is 100% identical however the the dragon on the left takes x15 times longer to render due to each particle containing 15 instances. The workaround is to turn whatever mesh you have to spawn from, into a pointcloud before spawing. If you use a static mesh you can use my GeoToPoints tool: GeoToPoints.nk

Casting lights with Nuke particles, using new undocumented node (ParticleToImage).

May 28, 2014

Nuke 8 secretly introduced a undocumented node called ParticleToImage. This node can be used to turn a particle system into raw image data, containing XYZ positions, Scale, and Color data.

I assume the node was introduced to bridge the gab between 3D scenes and the new BlinkScript node.

You can for example apply a particle system to your geometry, choose uniform distribution and you will be able to get all vertices from the geometry. You can also add custom data into the color channels to bridge data like rotation and so.

ParticleToImage

Anyway, to showcase this node i have made a little relight node that uses the image data to have a Nuke particle system cast light onto a scene. I have used a basic blinn light model with a half-lambert option.

It uses the particle scale to determine the light intensity, and color for the light color.

The node should be available on nukepedia shortly or you can get it directly here


Nuke ParticleLights from Hagbarth on Vimeo.


StickIT – Digital Makeup Gizmo for Nuke

May 8, 2014

StickIT – A Digital Makeup Gizmo for Nuke. from Hagbarth on Vimeo.

In summer 2013, I was tasked with finding a way to easily add digital makeup to actors facees across multiple scenes (with alot of twitchy motion and super shallow-focus closeups), quickly and with as little effort as possible. That was where i came up with StickIT, a 2D optical flow(ish) solution for “warp” matchmoving a image onto another.


Most digital makeup solutions involves a 2D planar track or a 3D matchmove both with their own respective strengths and weaknesses. When doing face makeup with a actor talking or doing other rapid motions, both 3D and planar track solutions can easily take hours before a solid track is in place, and this is where the combination of the 2 comes in.

StickIT uses the Nuke Camera Tracker to generate a 2D pointcloud on the desired area. StickIT then generates a mesh of pins based on the density of points from the pointcloud. By triangulating the neareast points taking both movement and distance into account, StickIT calculates the best suitable motion for each and. It all becomes one big mesh that does’nt care for edges, regions, planes or perspective, but rather just the “optical flow” of the pixels underneath. This obviously have its disadvantages in certain situations, but makes it a simple 1 Click, set and forget approach.

Pulling a ST map into the warp you can generate a diffrence map and by that a ST map and Motion Vector map that can be used to not only creating motion blur and re-applying the effect multiple times in the same comp, but also gives the option to export the 2 and replicate the exact same results inside Fusion or AfterEffects for example.

With all that being said, StickIT is made to do things fast and dirty and won’t replace any of the other solutions if there is time for a proper matchmove. But when you are on a budget and got 100 more of these shots waiting in queue you might aswell just “do the clicks and se if it sticks”


StickIt01


StickIt02


The python source code took quite a few rounds of cleanup (the yellow parts) to bring down solve time to a few seconds.

StickIt03